Cured Salmon: Gravlax and Smoked, Made at Home.
While I typically bake my own bread, make cheese, and grow a LOT of peppers, today’s focus is the homemade gravlax and smoked cured salmon.
I’ve always heard that breakfast is the most important meal of the day. I’m not sold on this, but having spent years on the road, I learned to grab more than a cup of coffee in the morning at the airport. That little bag of airplane pretzels was never going to cut it. A decent breakfast that is widely available and quite portable is a bagel with smoked salmon. Eventually this breakfast became a habit for me, and I knew where to find a passable bagel and salmon. Transporting this habit home, my most common breakfast these days is either a lightly toasted bagel or a slice of freshly baked sourdough bread topped with some homemade lactic cheese, a couple slices of homemade gravlax or smoked salmon, and thin slices of fresh jalapeno pepper.
There’s much confusion in identifying the types of cured salmon. Often, they are all generically referred to as lox, which is unsmoked cured salmon belly. I make both gravlax and smoked salmon. Gravlax is simply cured salmon, typically flavored with dill. Smoked salmon is, as the name suggests, smoked after curing.
Use the best and freshest salmon you can find. We live near a Korean grocery store that has an active sushi business, so they always have fresh salmon. Since this is so easy to make, I generally purchase about a pound of salmon to cure. I am looking for a fish that was just cleaned, there should be no tears in the flesh, an indication that it has been sitting for a day or so and has begun to break down. I prefer to leave the skin on and then leave it behind when slicing the finished product.
Note the weight of the salmon fillet on the package; you can re-weigh it if you prefer, but I generally trust the package weight. If it’s in grams, you’re all set. If not, divide the weight in pounds by 2.2 to convert to kilograms and then multiply by 1000 to get grams. Working in grams makes it much easier to prepare the cure. Many cures will use large quantities of salt and then limit the time in cure to try to hit the desired salt level. This often results in salmon that is overly salty. I much prefer to use an equilibrium method for curing. With an equilibrium cure, you carefully weigh out the salt (you need a good scale to do this) and keep the cured item in the salt long enough so that all the salt is absorbed, thus reaching equilibrium. Generally, the salt level in an equilibrium cure is between 1.8 and 2.5% of the weight of the salmon. 1.8% will have low perceived salt, and 2.5% represents about the upper threshold, beyond which you might say the finished product is salty. I use 2% salt, which is still low enough to allow the fish to predominate over the salt flavor. Since you are weighing the salt, it doesn’t matter what kind of salt you use, just don’t use iodized table salt. I really like the Korean sea salt sold for kimchi-making as an everyday salt. It has good flavor, not metallic or bitter as some salts can be, and it has a little crunch in applications where texture matters (texture doesn’t matter here). When curing, I add 1% sugar which helps the curing process. The sugar will not make the salmon sweet; it will reduce the perception of salt in the flavor allowing the salmon flavor to dominate.
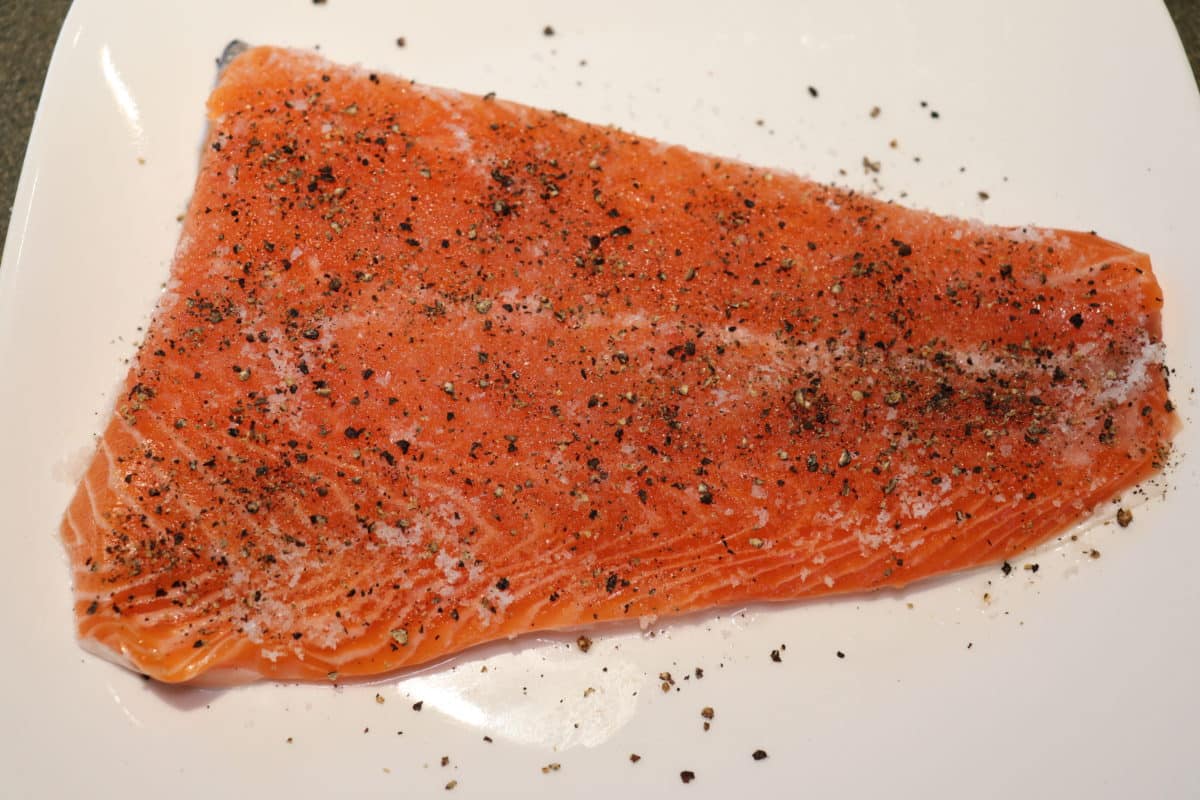
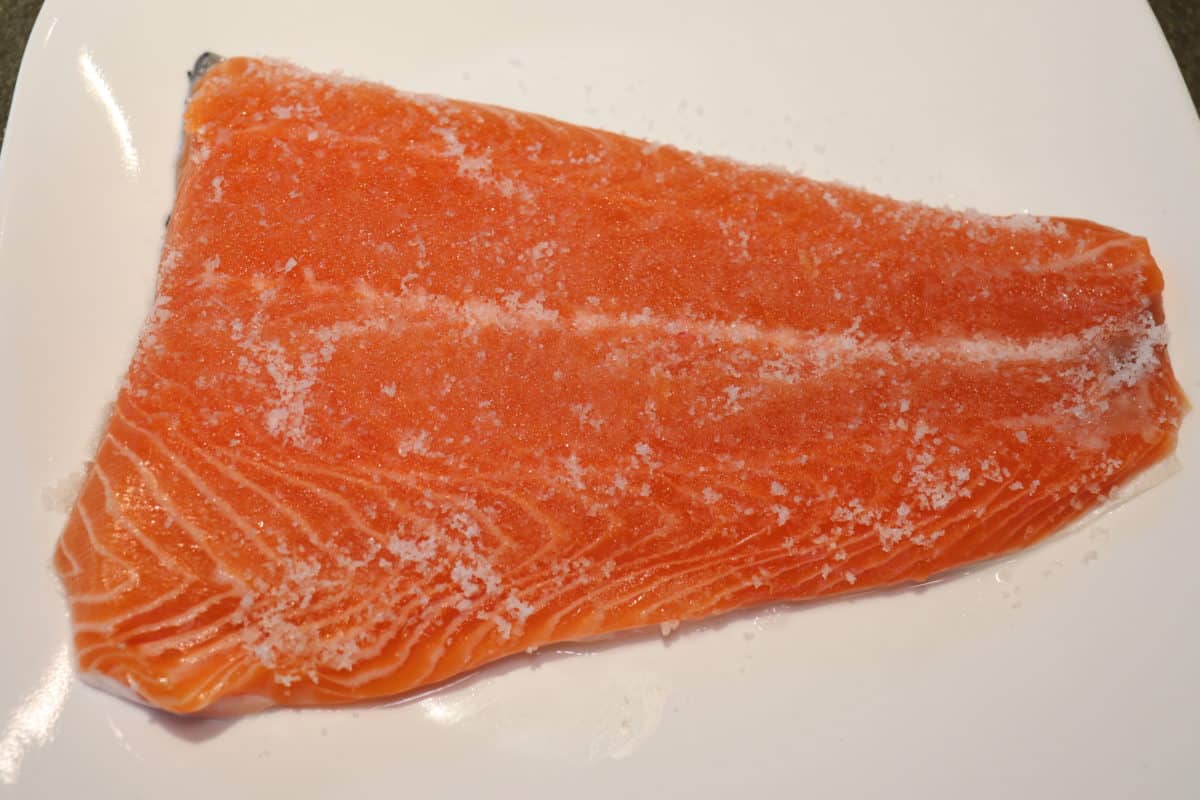

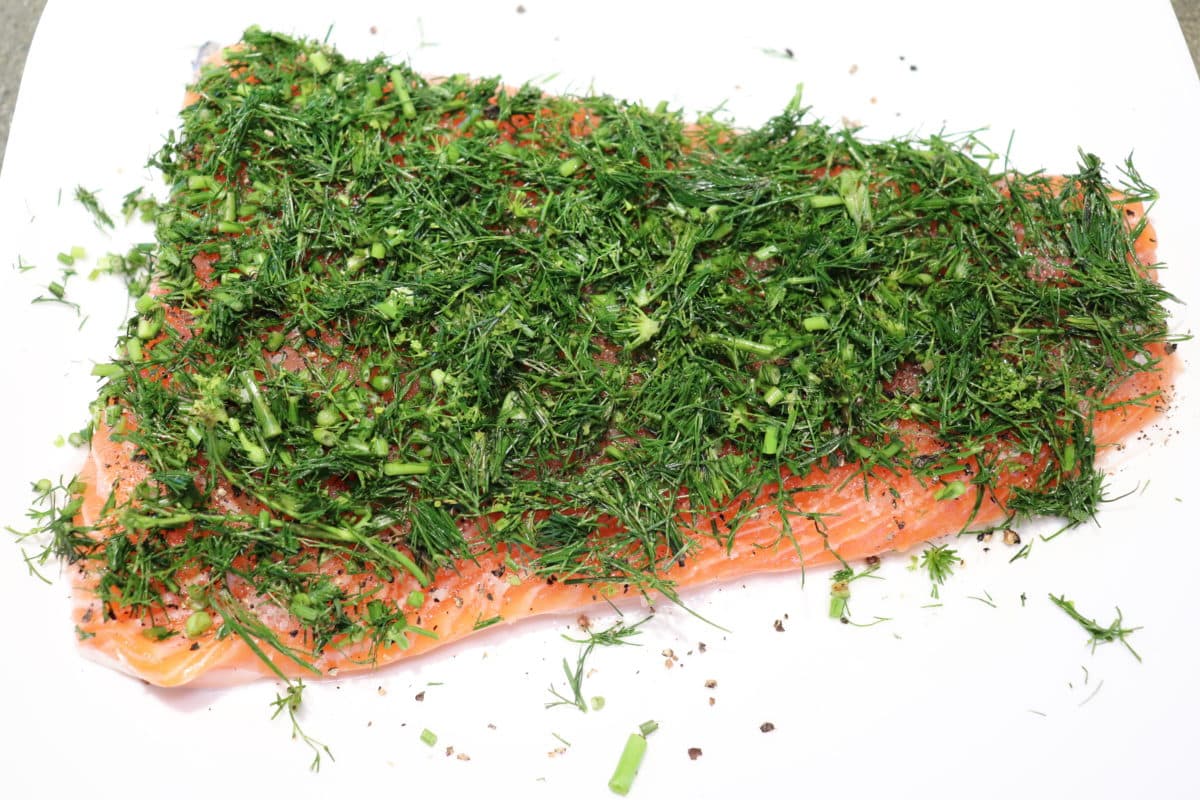
With the salt and sugar weighed out, mix them together and coat the flesh side of the salmon fillet. If the fillet is thicker in some parts, eyeball the cure to place more cure on the thickest parts of the fillet. Next, I apply other flavors. The most common is fresh dill. Finely chop enough to give a thick coating over the fillet. If you like — and I do like this — crack some freshly ground black pepper over the fillet before applying the dill.
You can add other flavors to your liking: lemon zest, oregano flowers, spice blends. Just don’t go overboard. I brew sake and sometimes add some sake lees in the curing process. Sake lees give a fresh, brightness to the salmon.
Cure applied, now seal the salmon in a zip top bag. Try to remove all the air. I have a vacuum sealer and use this to help the cure. Removing all the air holds the cure tight to the flesh of the fish and allows the salt to more quickly reach equilibrium in the fish. Refrigerate the fish for at least 24 hours. I have refrigerated curing salmon for 3-4 days; given the salt level it will not spoil.
After the curing is complete, remove the fish from the bag and rinse it with a little sake or wine. Rinsing is not necessary, but it does seem to brighten the flavor.
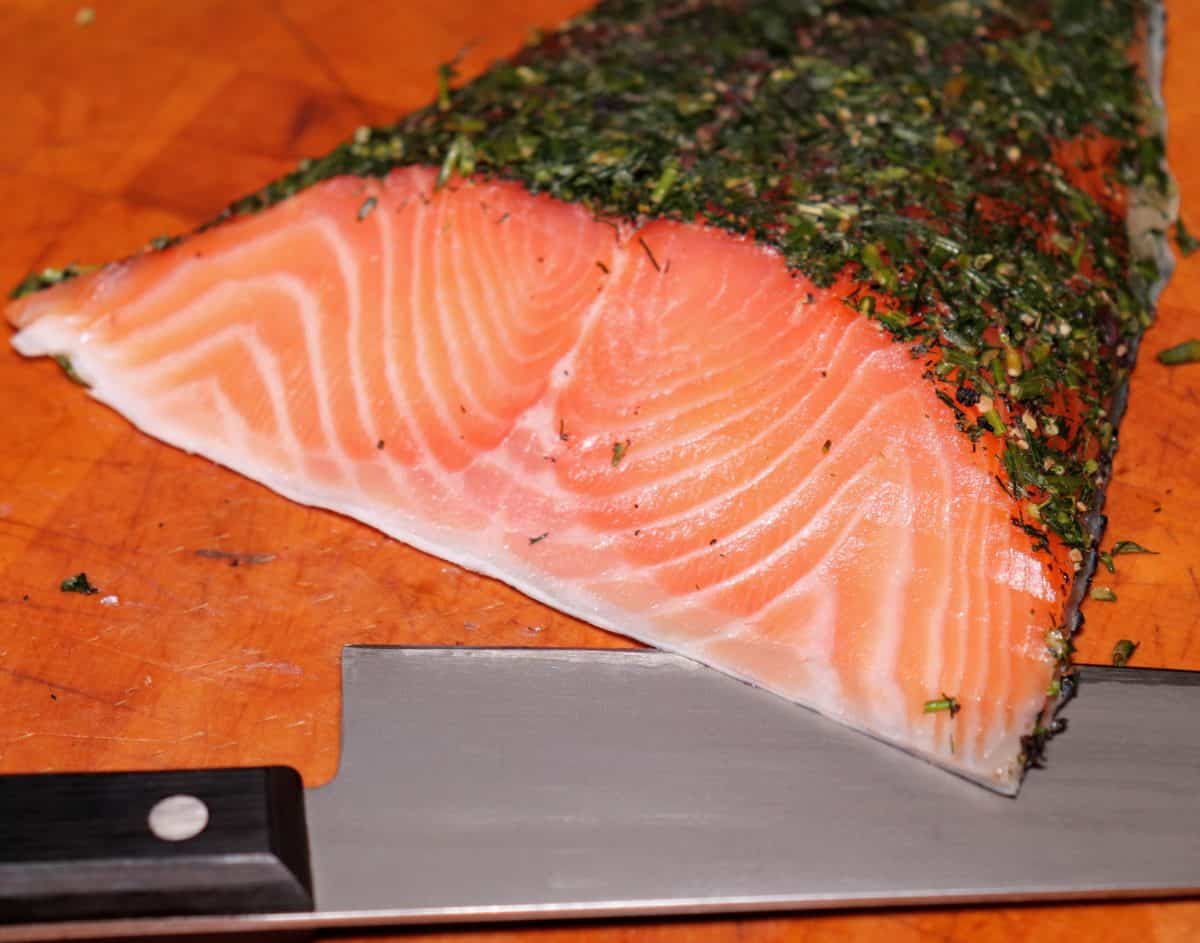
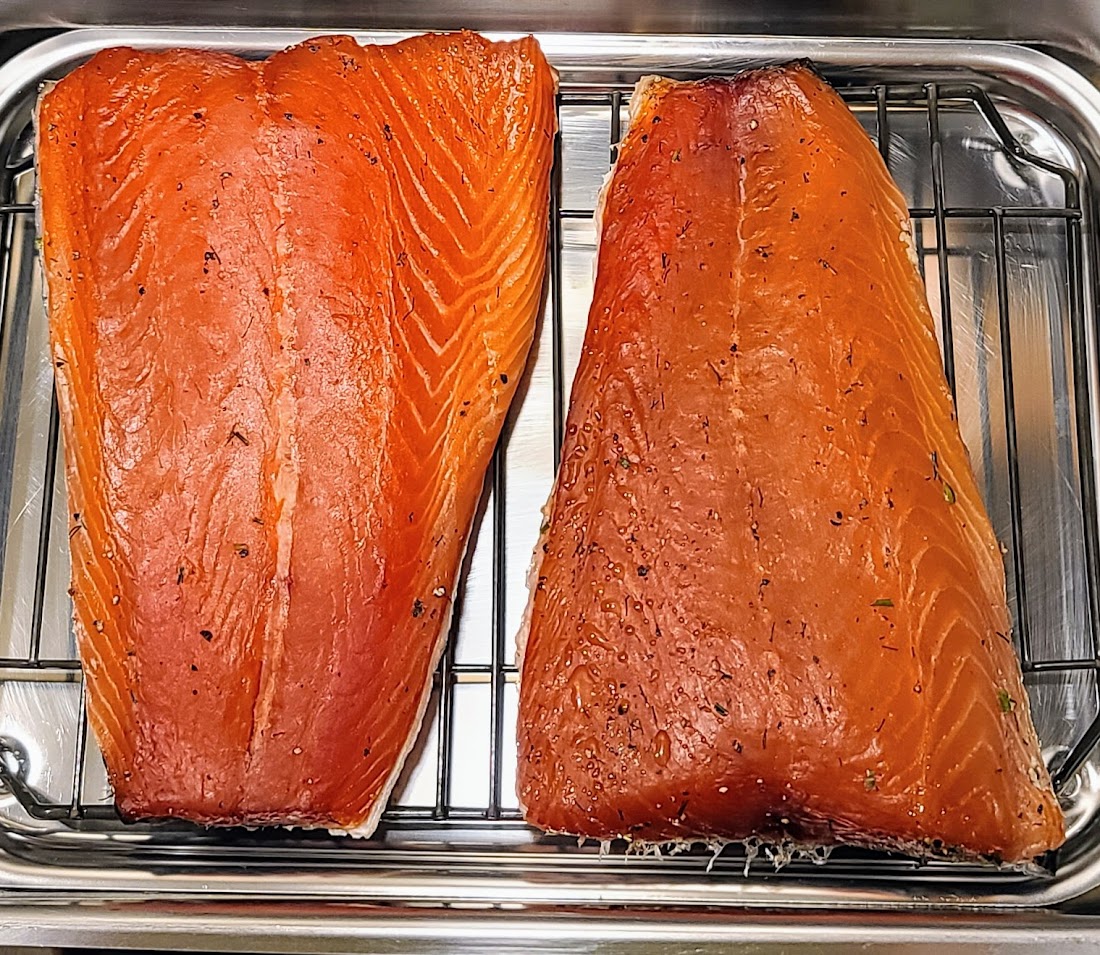
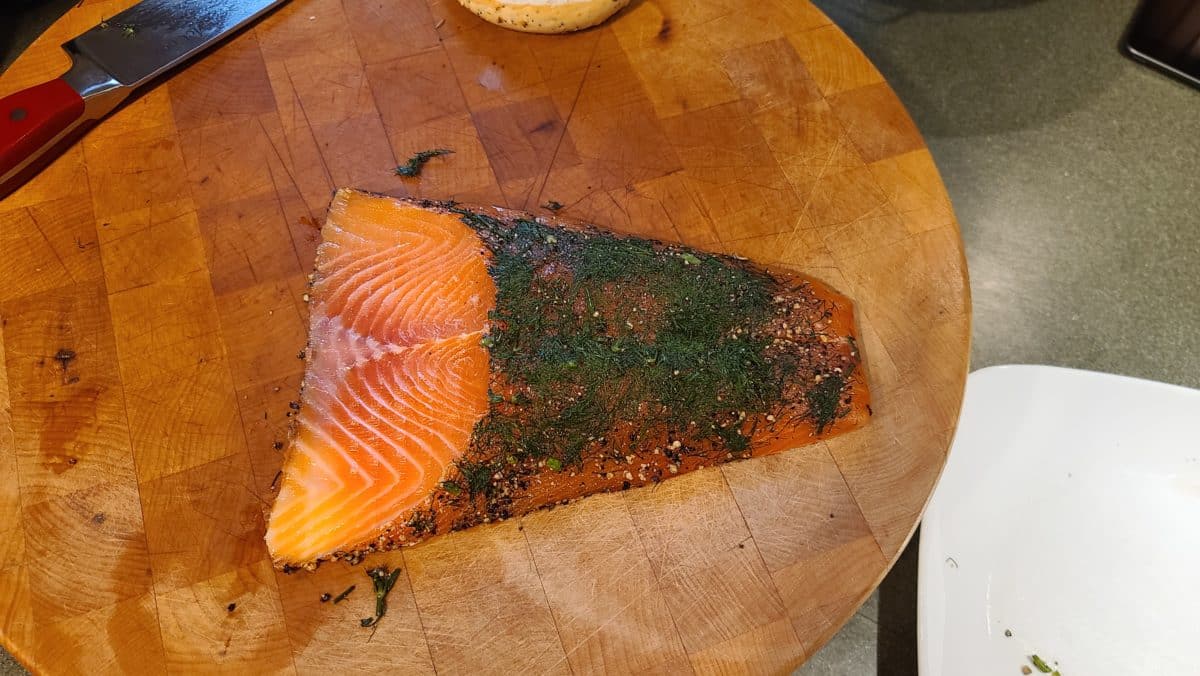
For gravlax, now just place the fish uncovered on a small rack in the refrigerator until it develops a skin or pellicle on the exposed surfaces. It will feel dry to the touch, and gently pressing on the salmon will tell you it is at the right firmness to slice. This drying usually takes no more than a day. At this point, it is ready to eat. Most of the time I cure salmon, this is the way I do it.
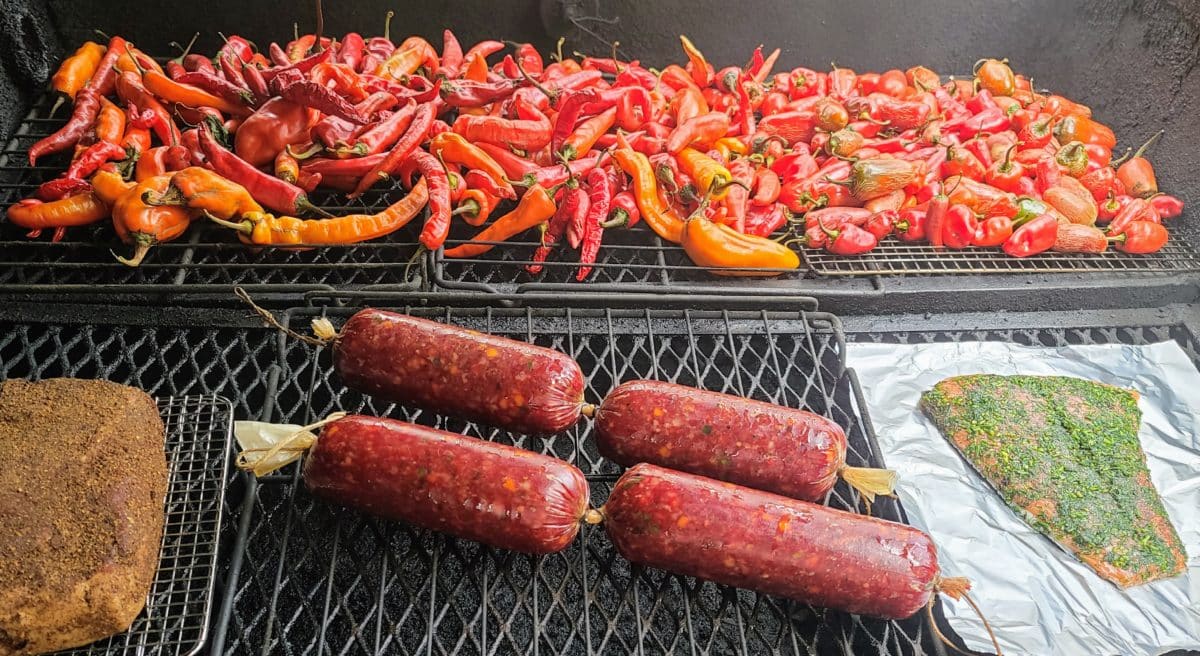
For smoked cured salmon, you can apply smoke once the pellicle is achieved. The pellicle is important for the smoke to adhere to the salmon. To cold smoke, you can use a stove top smoker. This just takes a few minutes to impart smoke flavor. I cold smoke on my wood burning barbecue when I have other things to smoke at the same time (bacon, sausage, cheese, nuts, peppers, etc.). I do this by lighting a fire and burning one log down to coals. You can also light just a few briquettes of charcoal.
Once coals are established, I cover the coals with a thick layer of dry hardwood sawdust. You want just a thin trail of blue smoke, not a thick cloud of brown or black smoke which will make smoked food taste like an ashtray.

Monitor the temperature to keep it under 38°C (100°F); I shoot for 27°C (80°F). in this method, you can smoke for 4-6 hours and get a very high-quality product. You can also smoke the salmon at higher temperatures if you prefer a flaky, hot-smoked finished product.![]()
