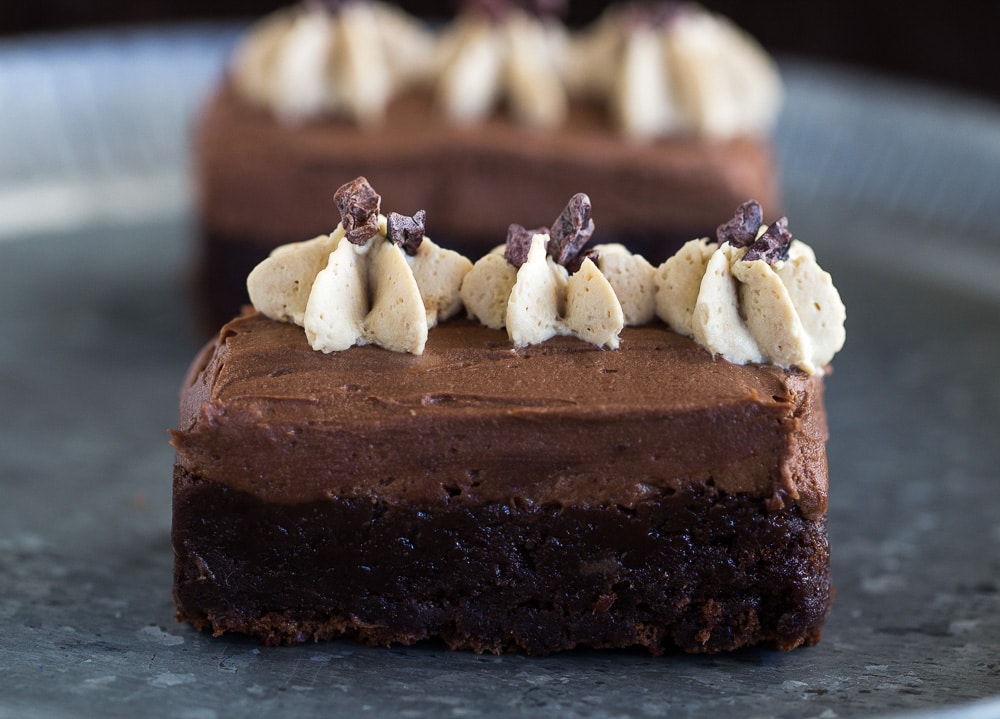
This gluten-free miso brownie recipe makes incredibly moist and chewy brownies. They are topped with a miso-inspired chocolate mousse, and garnished with coffee-flavored whipped cream and cocoa nibs.
Ingredients
For the brownie base:
- •Vegetable oil or nonstick spray, for greasing pan
- •200 grams (7.1 oz) dark chocolate
- •150 grams (2/3 cup) butter
- •150 grams (¾ cup) granulated sugar
- •Pinch salt
- •3 large eggs
- •75 grams (¾ cup) almond meal
For the chocolate miso mousse:
- •100 grams (3.5 oz) dark chocolate
- •60 ml (¼ cup) plus 188 ml (3/4 cup) whipping cream
- •15 ml (1 tablespoon light/white miso paste)
For the coffee whipped cream:
- •125 ml (½ cup) whipping cream
- •5 ml (1 teaspoon) instant coffee powder
- •30 ml (2 tablespoons) powdered/confectioners sugar
- •Cocoa nibs or grated choclate, for garnish


Preparation
- For the brownie base: Preheat oven to 170°C (350°F) and grease a 30 cm x 30 cm (12 x 12 inch) pan. Melt the chocolate in a heat-proof bowl placed over a pan of simmering water (or in the microwave). Gradually stir in the butter until smooth. Remove pan from heat and add the sugar, salt, eggs, and almond meal. Mix by hand or by using an electric mixer. Pour into the prepared pan and bake for approximately 20 minutes until the brownie is firm but still a little soft in the center. Remove from oven and let cool.
For the chocolate miso mousse: Melt the chocolate in a heat-proof bowl placed over a pan of simmering water. Remove from heat, then stir in 60 ml (1/4 cup) of the cream and the miso paste. In a separate bowl, whip the remaining 188 ml (3/4 cup) cream until stiff peaks form. Gradually fold the chocolate mixture into the whipped cream until it has the consistency of mousse; do not over-mix. Spread the mousse evenly onto the cooled brownie mixture using a palette knife. Place in fridge for at least 1 hour until the mousse firms. Meanwhile, prepare the coffee whipped cream.
For the coffee whipped cream: Using electric beaters, beat the cream until stiff peaks form. Add the coffee powder and powdered sugar and continue to beat for a few more seconds. Place mixture into piping bag fitted with a ‘serrated’ or plain round nozzle. Keep the mixture cool until ready to use.
Remove the brownie from fridge and let the brownie rest a few minutes at room temperature to soften a little. Slice into bars of the desired size and pipe decorative mounds on top of each brownie slice. Decorate with a few cocoa nibs or pieces of grated chocolate.

