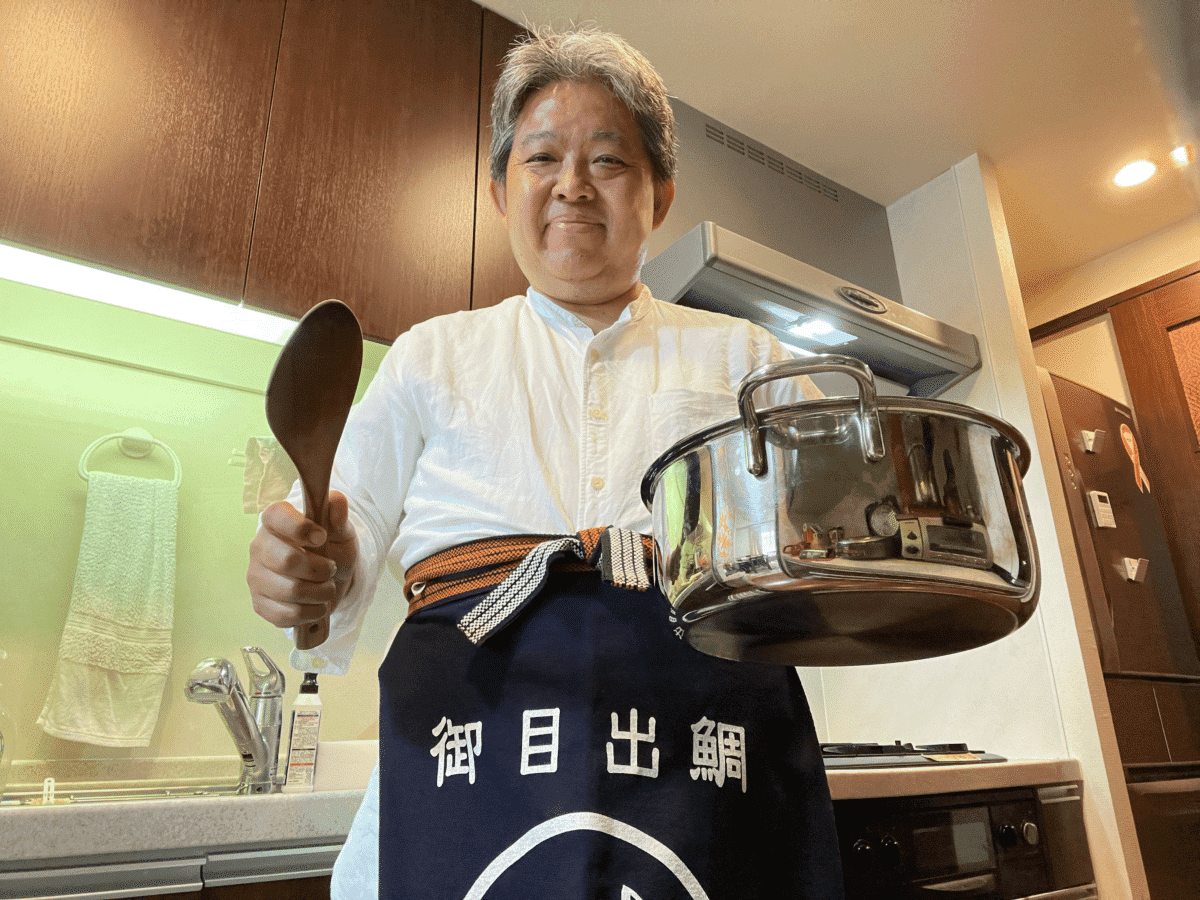
I started cooking when I was eleven years old, and never stopped.
A Swiss – Italian childhood
I grew up in Switzerland, my father was Swiss, my mother Italian. Holidays were spent with our Italian family in the Piedmont or in Rome. I was a very curious child, so instead of playing in the garden I would watch my Nonna, Mamma, and Zia cooking sauces, preparing pasta, roasting meat, cleaning vegetables,m etc.
Different destinations
As a young girl I would cook for my classmates, often more than 20 people. I was unstoppable. After getting married, my husband and I lived in London, where my priority was to learn English. I grew up with Swiss German, German, Italian and French, so I learned the language in Great Britain by listening and copying. Again, I was cooking for friends, and I added British cuisine to my repertoire.
We moved back to Switzerland and had two children. As soon as my second child was born, we moved to Asia.
Hong Kong
We lived in Hong Kong for thirty-three years where I had the best time of my life! Hong Kong is a mix of European and Asian cultures, and it shows in the food. You can find hawkers selling traditional Chinese street food next to an English Pub. French restaurants sit next to Italian pizzerias, and Russian restaurants face open-air food markets. Paradise for me!
I had a roof garden where I hosted parties for 35-40 friends. I often made 100 cupcakes. My three children helped me with the cooking, baking, and preparations. Our home was the go-to destination for grilled homemade Swiss sausages. I served lasagna and Swiss potato salad.
After 33 years in Hong Kong, we retired and moved to the Philippines. This introduced me to a vibrant a mix of local south Asian, Chinese, and Spanish food. I love the variety of vegetables and all the different adobos!
On becoming a food blogger
I started food blogging in 2007, when my children were scattered around the world. The girls were at boarding school in Switzerland, and my son was learning Chinese in Beijing. They studied in America and Australia, and often asked for recipes. I started a website and put those recipes online for them.
Soon my audience grew from the three in my immediate family to many followers. I was astounded. After a few years I realized that I needed a proper domain and website. My second website (www.pane-bistecca.com) was built in 2018, after my older version broke during an update. And now we are busy renovating and improving it.
I am a member of several blogger groups. One that I enjoy is Culinary World Travel. Each month we post recipes from a chosen country. This is very interesting, as I love the story and culture behind food dishes. I am still as curious as a child! I have recipes from Peru, Kosovo, China, Japan, India, Italy, America, Switzerland, Namibia, Sweden, you name it!
Celiac disease
In 2018 our family was confronted with Celiac disease! One of my daughters was diagnosed with this auto immune disease and it changed the way we looked at food. We could no longer eat whatever we wanted. Even though four of us had no problems eating wheat, a single crumb of bread would sicken my daughter. So we had to adjust and learn how to cope. I’ve devoted a page on my blog to sharing information about the disease.
How my cooking classes began
I held on to traditions from both of my home countries, through all my years in Asia.
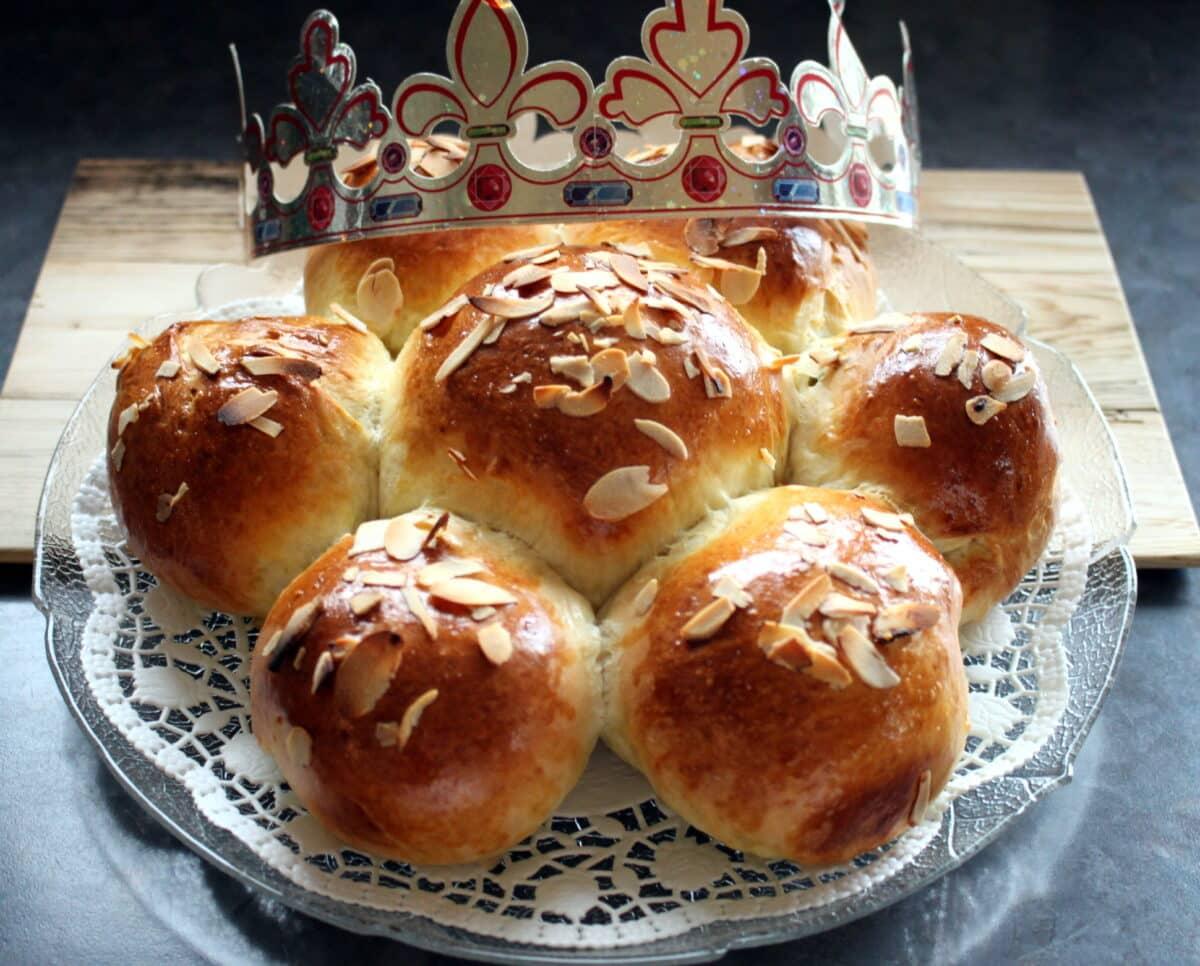
Each year on December 6 my family bakes Grittibaenz, a traditional Swiss bread for Santa Claus day. Over time, this tradition grew to include many neighborhood children and families, and classes followed.
I taught pasta making in West Island School in Hong Kong for four years, and have given several cooking classes at my home. I have taught whole Italian and Swiss menus, Christmas cookie baking, gnocchi, and more.
I am teaching now in the Philippines, finding new friends on the way and learning new traditions. Best of all, I’m having fun and enriching my life through friendship and food!
Homemade Pork Bratwurst

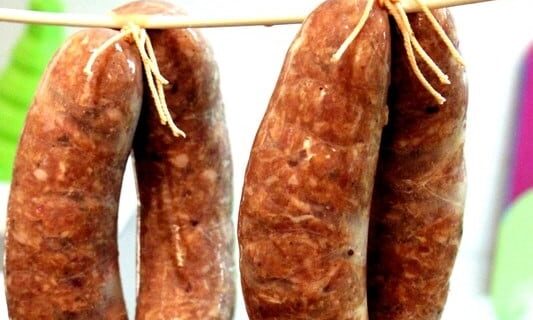
This homemade pork Bratwurst is a sausage that can be grilled or fried. The name is derived from the Old High German words “brät,” which means finely chopped meat, and “wurst,” meaning sausage. Though it is commonly associated with the cuisine of Germany, variations of bratwurst are enjoyed around the world. Though the recipe for bratwurst varies by region, common seasonings include salt, pepper, nutmeg, and caraway. It is often served with sauerkraut and mustard. Bratwurst are very delicious with roesti and onion sauce or mashed potatoes.
Editorial note: Sausage making is fun, but the microbial nature of ground meats is a challenge regarding safety. Everything must be very cold: meat, grinder attachments, bowls, etc., throughout the process. Place a large bowl of ice beneath the grinder to catch the meat and keep it well chilled.
Ingredients
- •700 grams (25 ounces) pork shoulder*
- •250 grams (9 ounces) pork belly
- •5 ml (1 teaspoon) marjoram
- •1.3 ml (1/4 teaspoon) rosemary
- •2.5 ml (1/2 teaspoon) chili powder
- •5 ml (1 teaspoon) salt
- •5 ml (1 teaspoon) black pepper
- •1 clove garlic, finely chopped
- •1 onion, finely chopped
- •50 ml (1/4 cup) milk
- •1 egg
- •About 1.5 meters (5 feet) pork intestines
*The meat should be fatty. The sausages will get a lot of flavor from the fat. The fat will be removed. by grilling or frying them, You don’t want a dry sausage!
The meat has to be really cold!


Preparation
- Cut the pork shoulder and pork belly into pieces and push it through a meat grinder. Do this several times. You do not want a smooth puree but there should not be big chunks in the sausages.
Season the meat with the marjarom, rosemary, chili, salt, and pepper. Add the garlic, onion, milk, and egg. Mix it well and knead it (it’s helpful to use disposable gloves). Transfer the meat to a piping bag.
Rinse the insides of the intestines by attaching on end to the faucet and allow cold water to run through until it is clear. Then put the intestines in a bowl of cold water to wash the exterior. Cut a little piece off the tip of the piping bag and roll the intestines onto it. Tie the other end of the intestines with kitchen string. Very carefully pipe the meat into the intestines. From time to time you have to push the meat inside to remove air pockets, as it is very loose. Of course, a filling machine makes the job a lot easier.
Make approximately 12 sausages of 15 cm (6 inches) length from the one big sausage by twisting the sausage skin. Tie them with string on both sides , leaving a small gap between sausages. Poke with a trussing needle or other slim skewer to remove any detectable air pockets.
Hang the sausages up in a refrigerator, with a bowl underneath, for at least three hours to drain liquid from them. Once they are ready they may be vacuum-sealed and frozen, or cooked by grilling or frying.

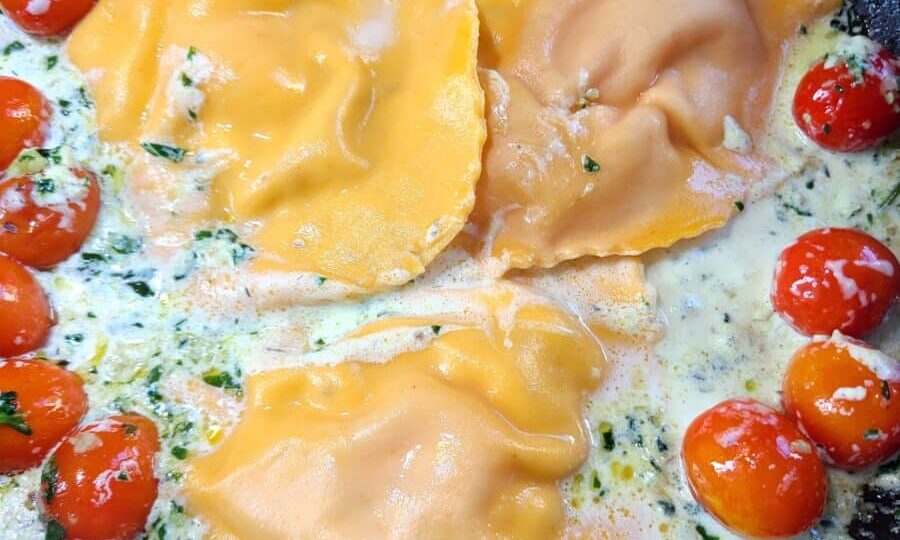
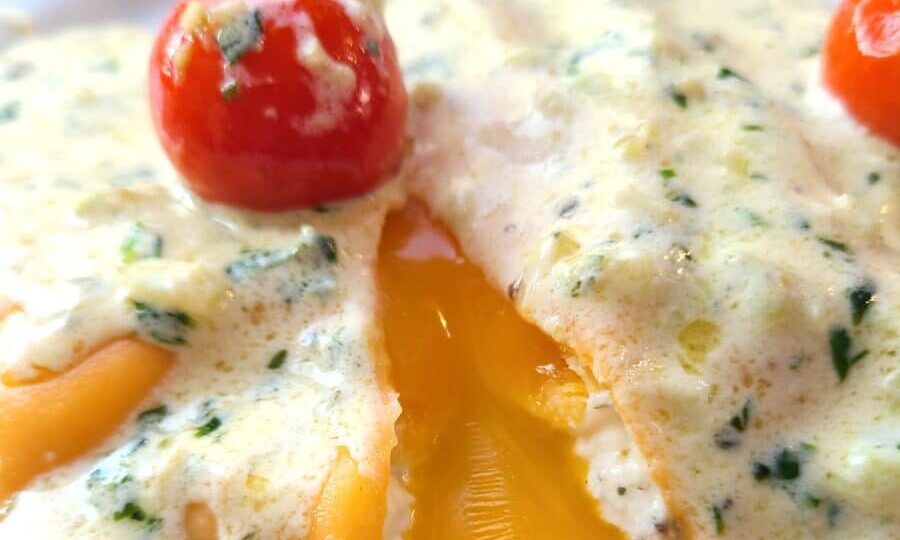
Ravioli with Egg Yolk Filling
Ingredients
For the pasta:
- •150 grams (5 ounces) pasta flour
- •1 whole egg
- •1 egg yolk
- •30 ml (2 tablespoons) tomato paste
- •Pinch of salt
- •15 ml (1 tablespoon) olive oil
For the filling:
- •100 grams (3 1/2 ounces) cream cheese
- •100 grams (3 1/2 ounces) mascarpone
- •5 ml (1 teaspoon) mixed dried herbs of your choice
- •Freshly ground black pepper
- •Chili flakes or powder
- •3 egg yolks
For the sauce:
- •20 grams (.7 ounces) butter
- •3 cloves garlic, finely chopped
- •1 sprig fresh rosemary, leaves finely chopped
- •Handful spinach leaves, finely chopped
- •1 handful cherry tomatoes
- •Salt, as needed
- •Freshly ground black pepper
- •Chili flakes or powder
- •Heavy cream (optional), as needed
Preparation
- For the pasta: On a work surface pile the flour and make a well in the center. Break the egg and egg yolks into the well and add tomato paste, salt, and olive oil. Using a fork, break up the egg yolks then swirl to combine. Knead the dough for ten minutes, then let rest for 30 minutes. The dough will get nicely orange through the addition of tomato paste!
For the filling: Combine all of the ingredients for the filling and transfer it into a piping bag.
To roll the pasta: Roll out the paste thinly. up to number 5 on a pasta machine, to make one long strip of dough. Put it onto a working space and pipe three circles onto half of the strip. See pictures of the technique here. Pipe two circles on top of each other so it will contain the egg yolk. Then put one egg-yolk each into these circles. Brush the pasta with egg-white and fold the other half of the dough over the filling. Now push out the air around the filling with the side of the thumb and push the pasta together. Now cut the ravioli nicely with the ravioli cutter. Boil them in boiling salted water for 5 minutes. Then take them out with a slotted spoon.
For the sauce: Melt the butter in a skillet and add the garlic, rosemary, and spinach. Saute for 1 minute. Add 30 ml (2 tablespoons) of leftover filling and mix well, then add the cherry tomatoes. Season to taste with salt, pepper, and chili. Add some heavy cream if desired. Then add the drained ravioli and move them carefully around the sauce. Serve immediately!