Ingredients
Ingredients
- •.9 to 1.3 kg or about 946 ml (2 to 3 pounds or about 1 quart) raw, unfiltered local honey
- •3.8 liters (1 gallon) of good clean, non-chlorinated water
- •8-10 organic raisins (for wild yeast, tannins and nutrients)
- •A couple squeezes of a lemon or orange
Equipment
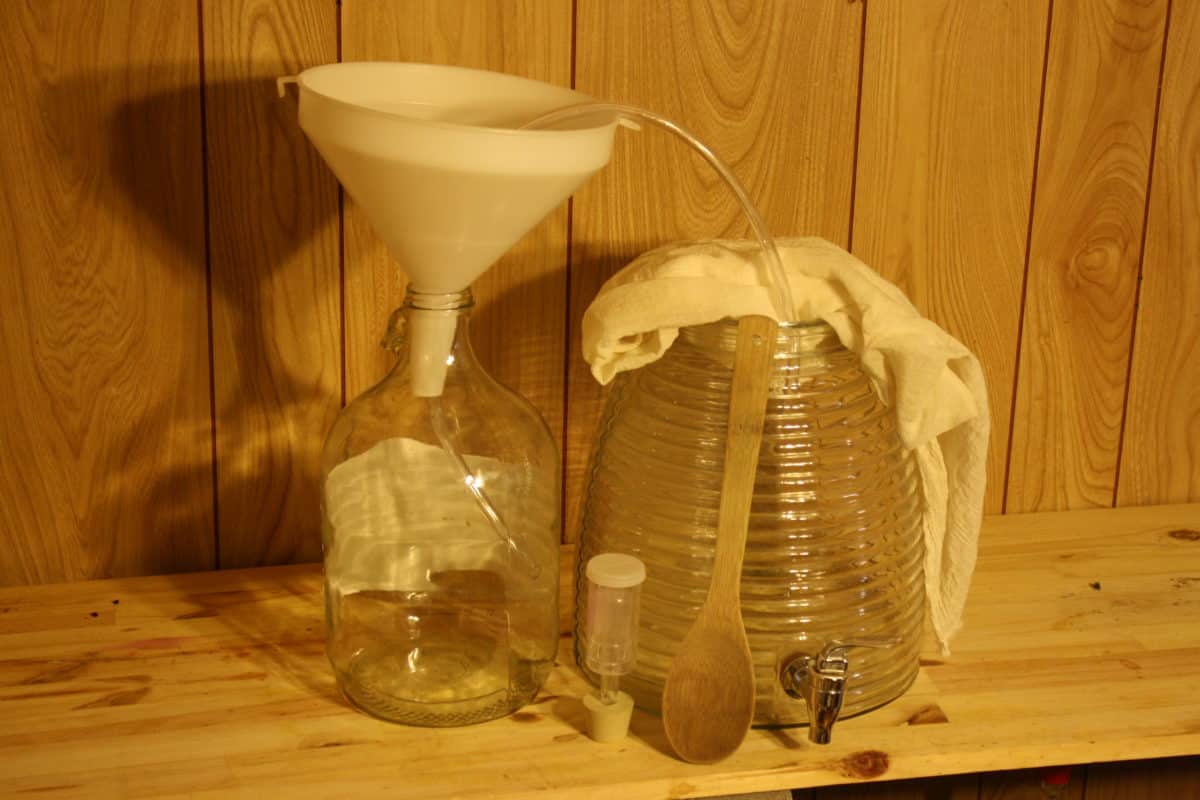
- •A wide-mouthed ceramic, glass or food-grade plastic fermentation vessel (3-5 gallons); do not use metal
- •A stir stick; I recommend a wooden spoon
- •Cheesecloth or another porous cloth large enough to cover the mouth of your fermentation vessel


Preparation
Clean all equipment thoroughly. Sanitizing with a sanitizer like Star-San or Iodophor will minimize the chances for bacterial infection but I practice natural fermentation so I tend to avoid them. An environmentally safe no-rinse cleaner like One Step is enough for me. One Step cleans by oxidation and is non-toxic. Use common sense and cleanliness as you would with any food preparation.
Mix water and honey in a wide-mouthed vessel. Room-temperature water and honey are already at the ideal temperature for fermentation, so there is no need to heat the must (unfermented mead). You can warm the water to help dissolve the honey, but don’t boil or pasteurize, as this kills off wild yeast and nutrients.
Add flavoring and fermentation-enhancing ingredients. Mead requires nutrients, tannin, and acid to give it body. Use these sparingly unless you want to add extra for flavor. All of these occur naturally in wild botanicals. Organic fruit, vegetables, edible flowers and more can be used. Small amounts of any citrus fruit (a couple squeezes per 3.8 liters/gallon) will provide acid. For tannin, an oak or grape leaf can be used. Around 5-6 organic raisins per gallon, as well as wild or domestic grapes, will provide nutrients, a bit of tannin, and wild yeast. Nearly anything edible, including fruit, vegetables, herbs, and flowers, can be used for flavoring. Make sure you are 100% positive an ingredient is safe when wild foraging, and add a bit at a time throughout the process until you like the flavor. Herbs and spices should be added with care as they can easily become overpowering.
Once you’ve mixed in your initial ingredients, set the vessel in a warm (15–27° C or 60–80° F) dark room, and stir the must vigorously for a couple of minutes several times a day. This aerates the mead, helping to incorporate wild yeast and ensuring a strong fermentation. Cover the vessel with a clean cloth when not in use. Tie the cloth tightly around the opening to keep out fruit flies and ants. Setting some traps nearby doesn’t hurt. Within anywhere from three to five days, you should see signs of fermentation. Most fruits will cause a vigorous, foamy fermentation, while other ingredients will be more akin to opening a carbonated beverage; i.e., the mead will be bubbly and will continue to fizz after stirring.
At this point, you can rack (fancy homebrew talk for “transfer”) into a narrow-necked jug, but a couple of more days will help to provide additional aeration.
To rack, use a siphoning tube or pour carefully through a funnel and strainer. Insert an airlock (purchased from a homebrew store) half-filled with clean water into the opening, or use a balloon. The goal is to allow the CO2 produced by fermentation to escape and to keep outside air from entering and turning the mead to vinegar.
Traditionally, meads were often drunk young, meaning you can drink the mead at any point now if you like the flavor. It will be sweet and bubbly and at around 5-6% alcohol. To age into a drier, higher alcohol (10-12%) mead, rack it off of the lees (sediment on the bottom) after about a month and then one or two more times. In six months to a year, all of the sugars in the mead should have been converted to alcohol. Add half teaspoon of sugar or a bit of honey and swirl the jug. If it causes a strong reaction, the mead is not ready to bottle. Meads bottled a bit young in a thick bottle will be carbonated, but if not done with care, you risk popped corks or bottle bombs.
Bottle carbonated mead in champagne or swing-top bottles, or use wine bottles with a wine corker, non-screw-top beer bottles with a bottle capper, or screw-top wine or beer bottles. Corked and swing-top bottles are ideal if you plan on aging the mead for more than a year. Place the bottles on their sides in a cool place such as a cellar.
Drink! Most meads need at least six months to mellow. Some need more. Feel free to sample at any time. It’s your mead after all. When drinking with friends, be sure to say skål! You can use other traditional toasts, but I prefer to toast as the Vikings did, from a drinking horn of course.

