
Rose Levy Beranbaum is known as the 'Diva of Desserts,' the 'Cookie Queen,' and other titles that honor her enormous contributions to baking through her thirteen cookbooks, her website, and precise no-fail recipes.
Rose Levy Beranbaum’s meticulous approach to baking stems from her background in science; her love for it comes from sharing her knowledge so that home bakers can be assured of success with every recipe.
Rose shares her ‘coming of age’ story with us and her best cookie tips. Indispensable advice for every home baker and professional on mixing, baking, and storing fabulous homemade cookies. She has created a new special holiday cookie just for us that is out of this world.

From disappointment to success
When I was a little girl I didn’t get many sweets because my mother was a dentist. When my grandmother, who lived with us, bought cookies it was a major treat. My mother and grandmother never did any baking, in fact the oven was filled with pots and pans. I would eat the store-bought cookies only on the day the package was opened because that’s when they were at their textural best. My pet name given to me by my grandmother was Cookie (it could have been Picky).
The first cookie I baked was when I came home from my first semester of college where I had taken a food class. I followed the recipe on the back of the oatmeal box religiously and was deeply disappointed when the batter spread over the entire pan forming one giant and inedible cookie. I didn’t bake again for a several years until a co-worked gave me her recipe, and it was a great success.
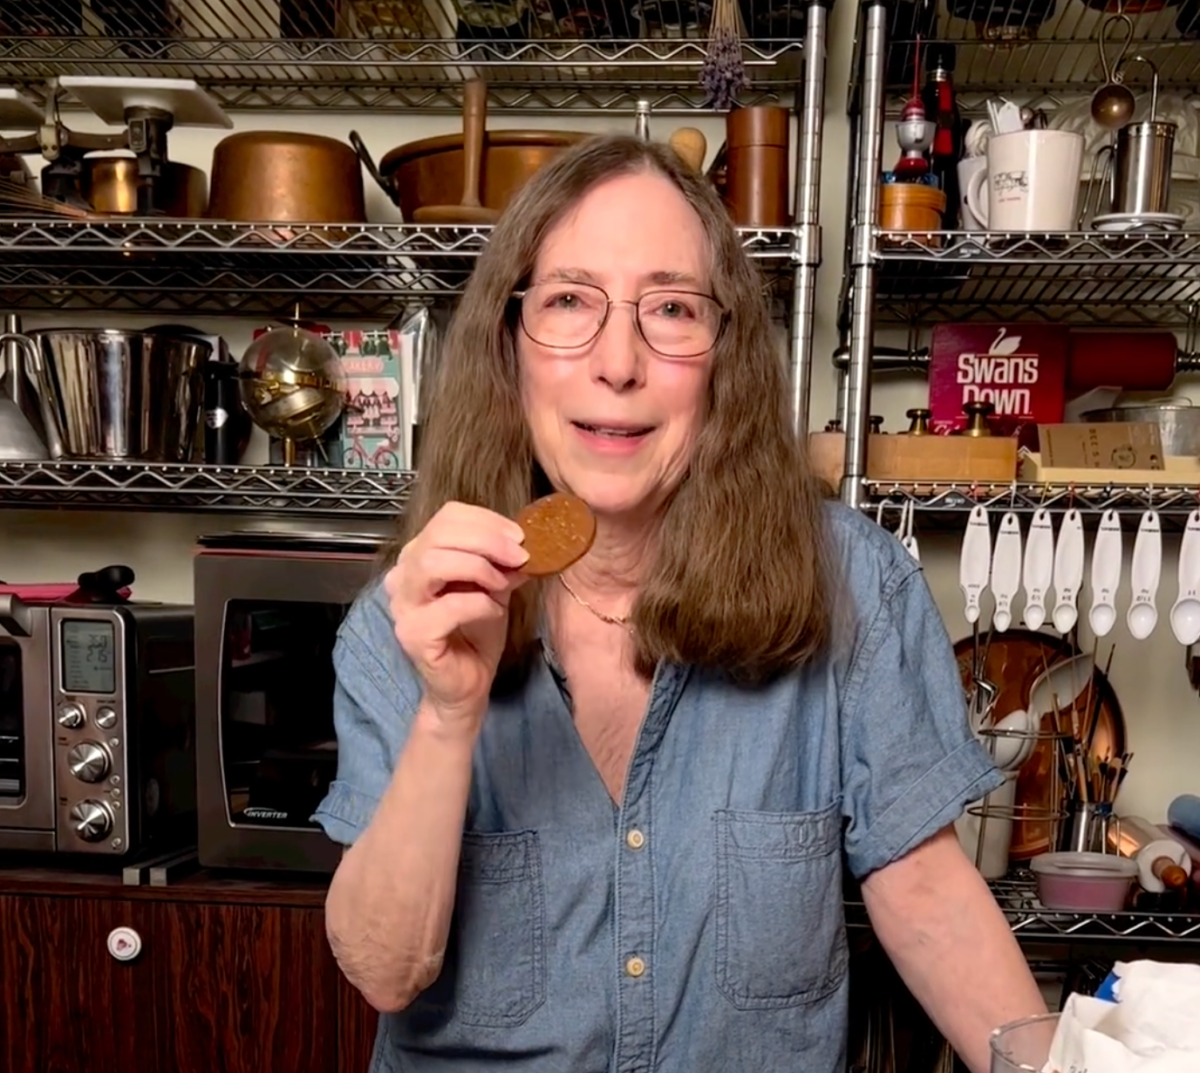
Here are all the top tips from my decades of cookie baking that I’m delighted to have the opportunity to share with you.
❤ Weigh your ingredients
Weighing makes baking easier, faster, and more reliable. It also makes it easy to measure out dough for a consistent size. It is best to weigh liquid as well because liquid measuring cups with spouts vary. If measuring dry ingredients, use measuring cups with unbroken rims for dry ingredients. When using a book on baking, check the section on ingredients to understand how the author measures flour — the dip and sweep method, for example, will yield much more flour than when flour is lightly spooned into the cup.
❤ Pay attention to the flour
Cookies made with unbleached all-purpose flour are flatter, less puffy, brown faster, and are more chewy. Using too much flour will make your cookies dry and dense. It is important to use a national brand such as Gold Medal or King Arthur, because protein content varies widely in regional brands.
❤ Choose the right sugar
Sugar lowers the setting point of the dough during baking, so a cookie dough with a higher amount of sugar can spread more before setting, resulting in a thinner, crisper cookie. Superfine sugar gives cookies a smoother surface, ideal for decorating. It can be made in the food processor using fine granulated sugar. If the dough cracks, top it with plastic wrap before rolling. The fine granulation also results in a finer crumb and lighter texture. Granulated sugar, which is coarser, can be processed in a food processor to simulate superfine.
❤ The butter matters
Grade AA or A butter contains about 81 percent fat and 15.5 percent water. The rest of it is milk solids. Lower grades usually contain more water, which will result in stickier dough and puffier cookies. Unsalted butter is best because salted butter contains more salt than the correct amount needed.
❤ If you’re making meringues…
For meringue cookies, if you use 1/8 teaspoon cream of tartar per egg white (30 grams/2 tablespoons) there is no risk of overbeating it.
❤ Wash the fruit
Scrub citrus fruit using liquid detergent and hot water and rinse and dry it well before zesting it, or it will add a bitter taste to the recipe.
❤ Use fresh nuts
Always taste nuts before using them, because the oils they contain can become rancid. It’s hard to tell just from the smell.
❤ Flour your hands
For a more rounded top, when rolling the dough into balls, lightly flour your hands .
❤ A tip for cracked cookie dough
If cookie dough cracks during rolling for flat decorative cookies, unless the dough is very dry, it works well to cover it with plastic wrap before rolling. If it still doesn’t come together smoothly, spritz it with a little water and knead it together until smooth.
❤ Here’s how to make them uniform
Weighing is the best method to get uniformly sized cookies that will all bake at the same time, and using a cookie scoop is a speedy way to dispense cookie dough before weighing it. By the nature of their design, most cookie scoops are not as precise as measuring spoons, because they don’t release 100 percent of the dough.
❤ Good news! You can refrigerate the dough
Most cookie doughs can be refrigerated for up to 3 days, or frozen for several weeks and then thawed overnight in the refrigerator. If refrigerating dough for more than 2 hours, wrap it in plastic wrap and put it in a reclosable freezer bag. However, it is easiest to shape cookie dough if it has not been refrigerated for more than 3 hours. If the chilled dough is too cold to shape, divide it into quarters and let each piece sit at room temperature for about 15 minutes, or until it is malleable and soft enough to roll but still cold.
❤ What you need to know about temperature
Most cookies are baked at 350˚F/175˚C or 375˚F/190˚C. The higher temperature will set the dough faster, which helps it keep its shape. Although many factors contribute to a cookie’s texture, a higher temperature usually results in a darker crust with wider range in texture, from crisper on the edges to softer in the center.
❤ How to space them
For even baking, make all the cookies the same size and evenly spaced per batch. Space them evenly apart on the sheet. Bake each batch one sheet at a time near the center of the oven.
❤ Prep for the best results
Lining the cookie sheets with parchment not only makes for easier cleanup, it also helps to keep the dough from spreading and protects the bottoms from over-browning. To keep cookies from spreading or changing shape, it also helps to chill them on the sheet for 30 minutes before baking. Flouring your hands before shaping the dough helps to make a more rounded cookie. Avoid placing cookie dough on hot or warm cookie sheets.
❤ Over-browning? Here’s what to do
If cookies are over-browning on the bottoms, bake them on a higher rack, or use an insulated cookie sheet or doubled sheets.
❤ A tip for the right texture
Cookies continue to bake after removal from the oven. For softer cookies, underbake slightly. If removed too soon, they can be returned to the oven. Always start checking for doneness at the shortest time specified. Because cookies are small, they can go from pale gold to overbrowned in a very short time. Use a thin pancake turner to transfer cookies from the cookie sheet as soon as they are firm enough to hold their shape and set on wire racks to cool.
❤ Here’s how to store them
When storing baked cookies, always be sure to cool them completely first. Also, store crisp cookies separately from soft ones. If you’ve baked more than one kind of cookie, it is best to store each variety separately to prevent transfer of flavors. Separate layers of cookies with parchment or wax paper to keep the cookies crisp and to separate those that are sticky. To recrisp cookies, place them on cookie sheets and heat in a preheated 300˚F/150˚C oven for about 5 minutes. Cool on racks.
❤ How long will they keep?
Many cookies will keep for weeks after baking if stored carefully. If they are stored in a cool, dry room, some will even keep for months. There is, however, something extra special about certain cookies, especially those containing pieces of chocolate, that are freshly baked. For 4 to 6 hours after baking, the pieces of chocolate will still be slightly soft, adding an extra dimension to both texture and taste. If you like soft cookies, storing them in airtight containers in the refrigerator will keep them softer longer. Airtight containers, in addition to preserving the cookies’ texture, will keep them from picking up aromas from other foods. For the best flavor and texture, let them warm to room temperature before serving.
❤ Can cookies be frozen?
Freezing cookies keeps them almost as fresh as the day they were baked. Use reclosable freezer bags, expelling as much air as possible before sealing them, or airtight containers, filling any airspace at the top with crumpled plastic wrap or wax paper. Fragile cookies can be frozen in single layers on cookie sheets and then, once frozen solid, packed in airtight containers. Bar cookies can be frozen in one whole slab, before cutting, wrapped in plastic wrap and then heavy-duty aluminum foil. Individual frozen cookies taken out of their containers will defrost at room temperature in about 20 minutes.
In Partnership with Tovolo
Cranberry and White Chocolate Cookies

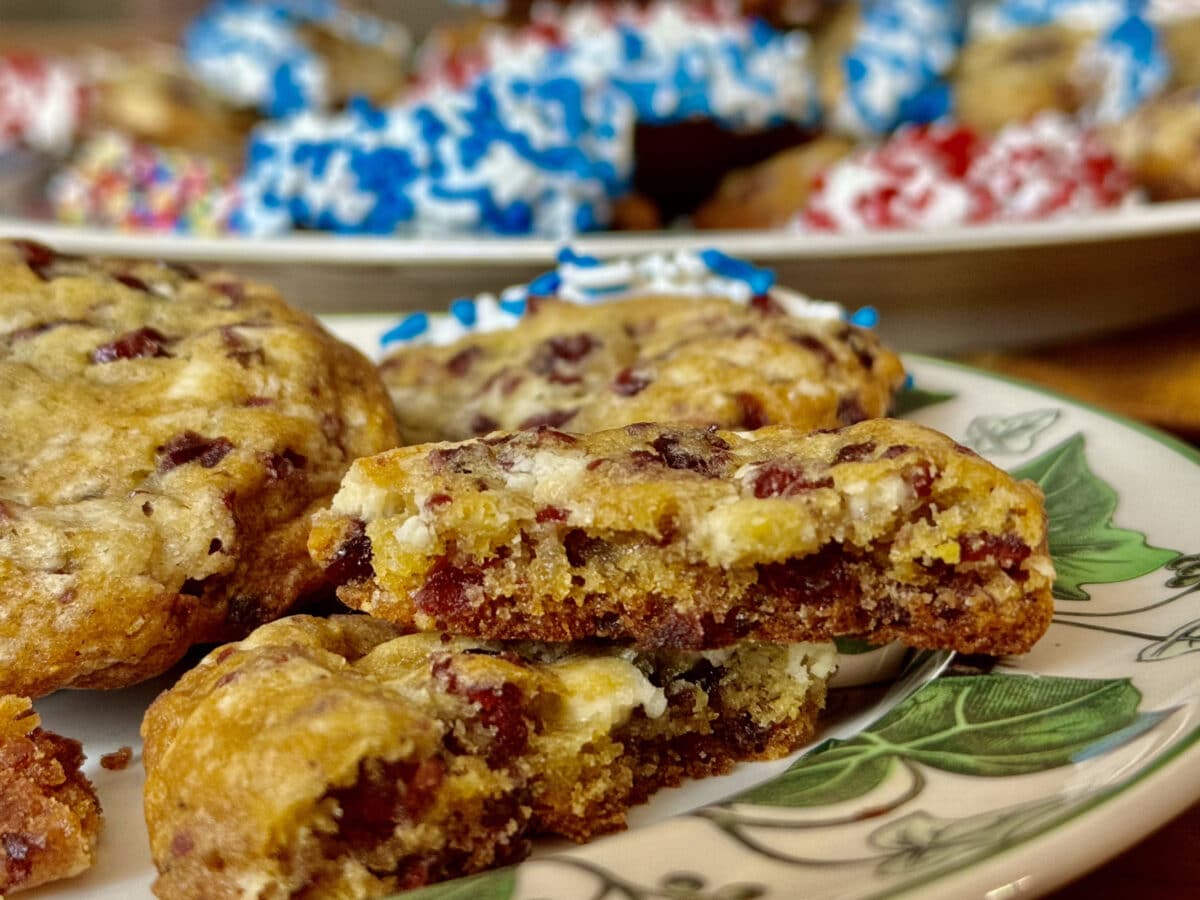
I’ve always been meaning to create a cookie with the combination of cranberries and white chocolate. White chocolate alone is too sweet and I love cranberries, so this seemed like the perfect holiday cookie! A nice attribute of this cookie is that it improves with age. After a day or two you’ll find that the flavors meld and develop. They can be stored in a tightly covered container at room temperature for two weeks, refrigerated for four weeks, or frozen for up to three months.
These cookies are crisp, chewy, and alive with the tang of cranberries, and the white chocolate bits melt in the mouth. Both the cranberries and white chocolate blend best with the lemon zest but you can substitute an equal amount of dark chocolate and orange zest.
And if you wish, for a festive look, you can dip part of the edge in melted white chocolate and sprinkles.
For more ideas for great holiday cookies, see my book The Cookie Bible!
Ingredients
- •113 grams (8 tablespoons/1 stick) unsalted butter, slightly softened
- •1 large egg (50 grams/47.5 ml/3 tablespoons plus 1/2 teaspoon)
- •5 ml (1 teaspoon) pure vanilla extract
- •30 ml (2 tablespoons, loosely packed) finely grated lemon zest
- •161 grams (1 1/3 cups, lightly spooned and leveled) all-purpose flour, preferably bleached
- •2.5 ml (1/2 teaspoon) baking soda
- •1.2 ml (1/4 teaspoon) fine sea salt
- •100 grams (1/2 cup) granulated sugar
- •150 grams (1 cup plus 2 tablespoons) dried cranberries
- •170 grams (6 ounces) white chocolate, high quality containing cocoa butter, coarsely chopped


Preparation
- Preheat the oven: Twenty minutes or longer before baking, set an oven rack at the middle level. Set the oven at 175˚C (350˚F).
Mise en Place:
- Thirty minutes to 1 hour ahead, cut the butter into 15 ml (1 tablespoon) size pieces. Set it on the counter to soften.
- Thirty minutes ahead, into a 237 ml (1 cup) glass measure with a spout, weigh or measure the egg. Whisk in the vanilla extract. Cover tightly with plastic wrap and set it on the counter.
- With dish washing liquid, wash, rinse, and dry the lemon before zesting it.
- In a small bowl, whisk together the flour, baking soda, and salt.
For the dough:
Food Processor Method
- In a food processor, process the sugar and lemon zest until the zest is very fine.
- With the motor running, add the butter one piece at a time, processing until smooth and creamy. Scrape down the sides of the bowl as needed.
- Add the egg mixture and process just until incorporated, scraping down the sides of the bowl.
- Add the cranberries and pulse until coarsely chopped, scraping down the sides of the bowl a few times.
- Add the flour mixture and pulse just until the flour is incorporated.
- Scrape the dough into a bowl and, with a silicone spatula or large spoon, stir in the chocolate.
Stand Mixer Method
- Coarsely chop the cranberries and set them in a small bowl.
- In the bowl of a stand mixer fitted with the flat beater, beat the butter, sugar, and grated lemon zest on medium speed for 2 to 3 minutes, or until lighter in color and fluffy.
- Gradually add the egg mixture, beating until incorporated. Scrape down the sides of the bowl.
- On low speed, gradually beat in the flour mixture just until incorporated, scraping down the sides of the bowl as needed.
- Add the cranberries and chocolate and beat only until incorporated.
Both Methods:
Divide the dough in half (about 370 grams each). Wrap each piece in plastic wrap and flatten into a 5 inch disc. Refrigerate for about 30 minutes, until firm enough to shape.
Roll the Dough into Balls:
Divide one piece of the dough into 12 walnut-size pieces (about 30 grams/2 tablespoons each). Roll each piece of dough in the palms of your hands to form a ball.
Place the balls no closer than 4 cm (1-1/2 inches) apart on a cookie sheet, in 3 rows of 4 cookies.
Bake the Cookies:
Bake for 10 minutes. Rotate the cookie sheet halfway around. Continue baking for 4 to 6 minutes, or until the cookies are golden brown. Repeat with the second batch.
Cool the Cookies:
Set the cookie sheet on a wire rack and let the cookies cool for 3 to 5 minutes, until firm enough to lift from the sheet. Use a thin pancake turner to transfer the cookies to another wire rack. Cool completely.
Storage:
Airtight at room temperature, 2 weeks
Refrigerated, 1 month
Frozen, 3 months.